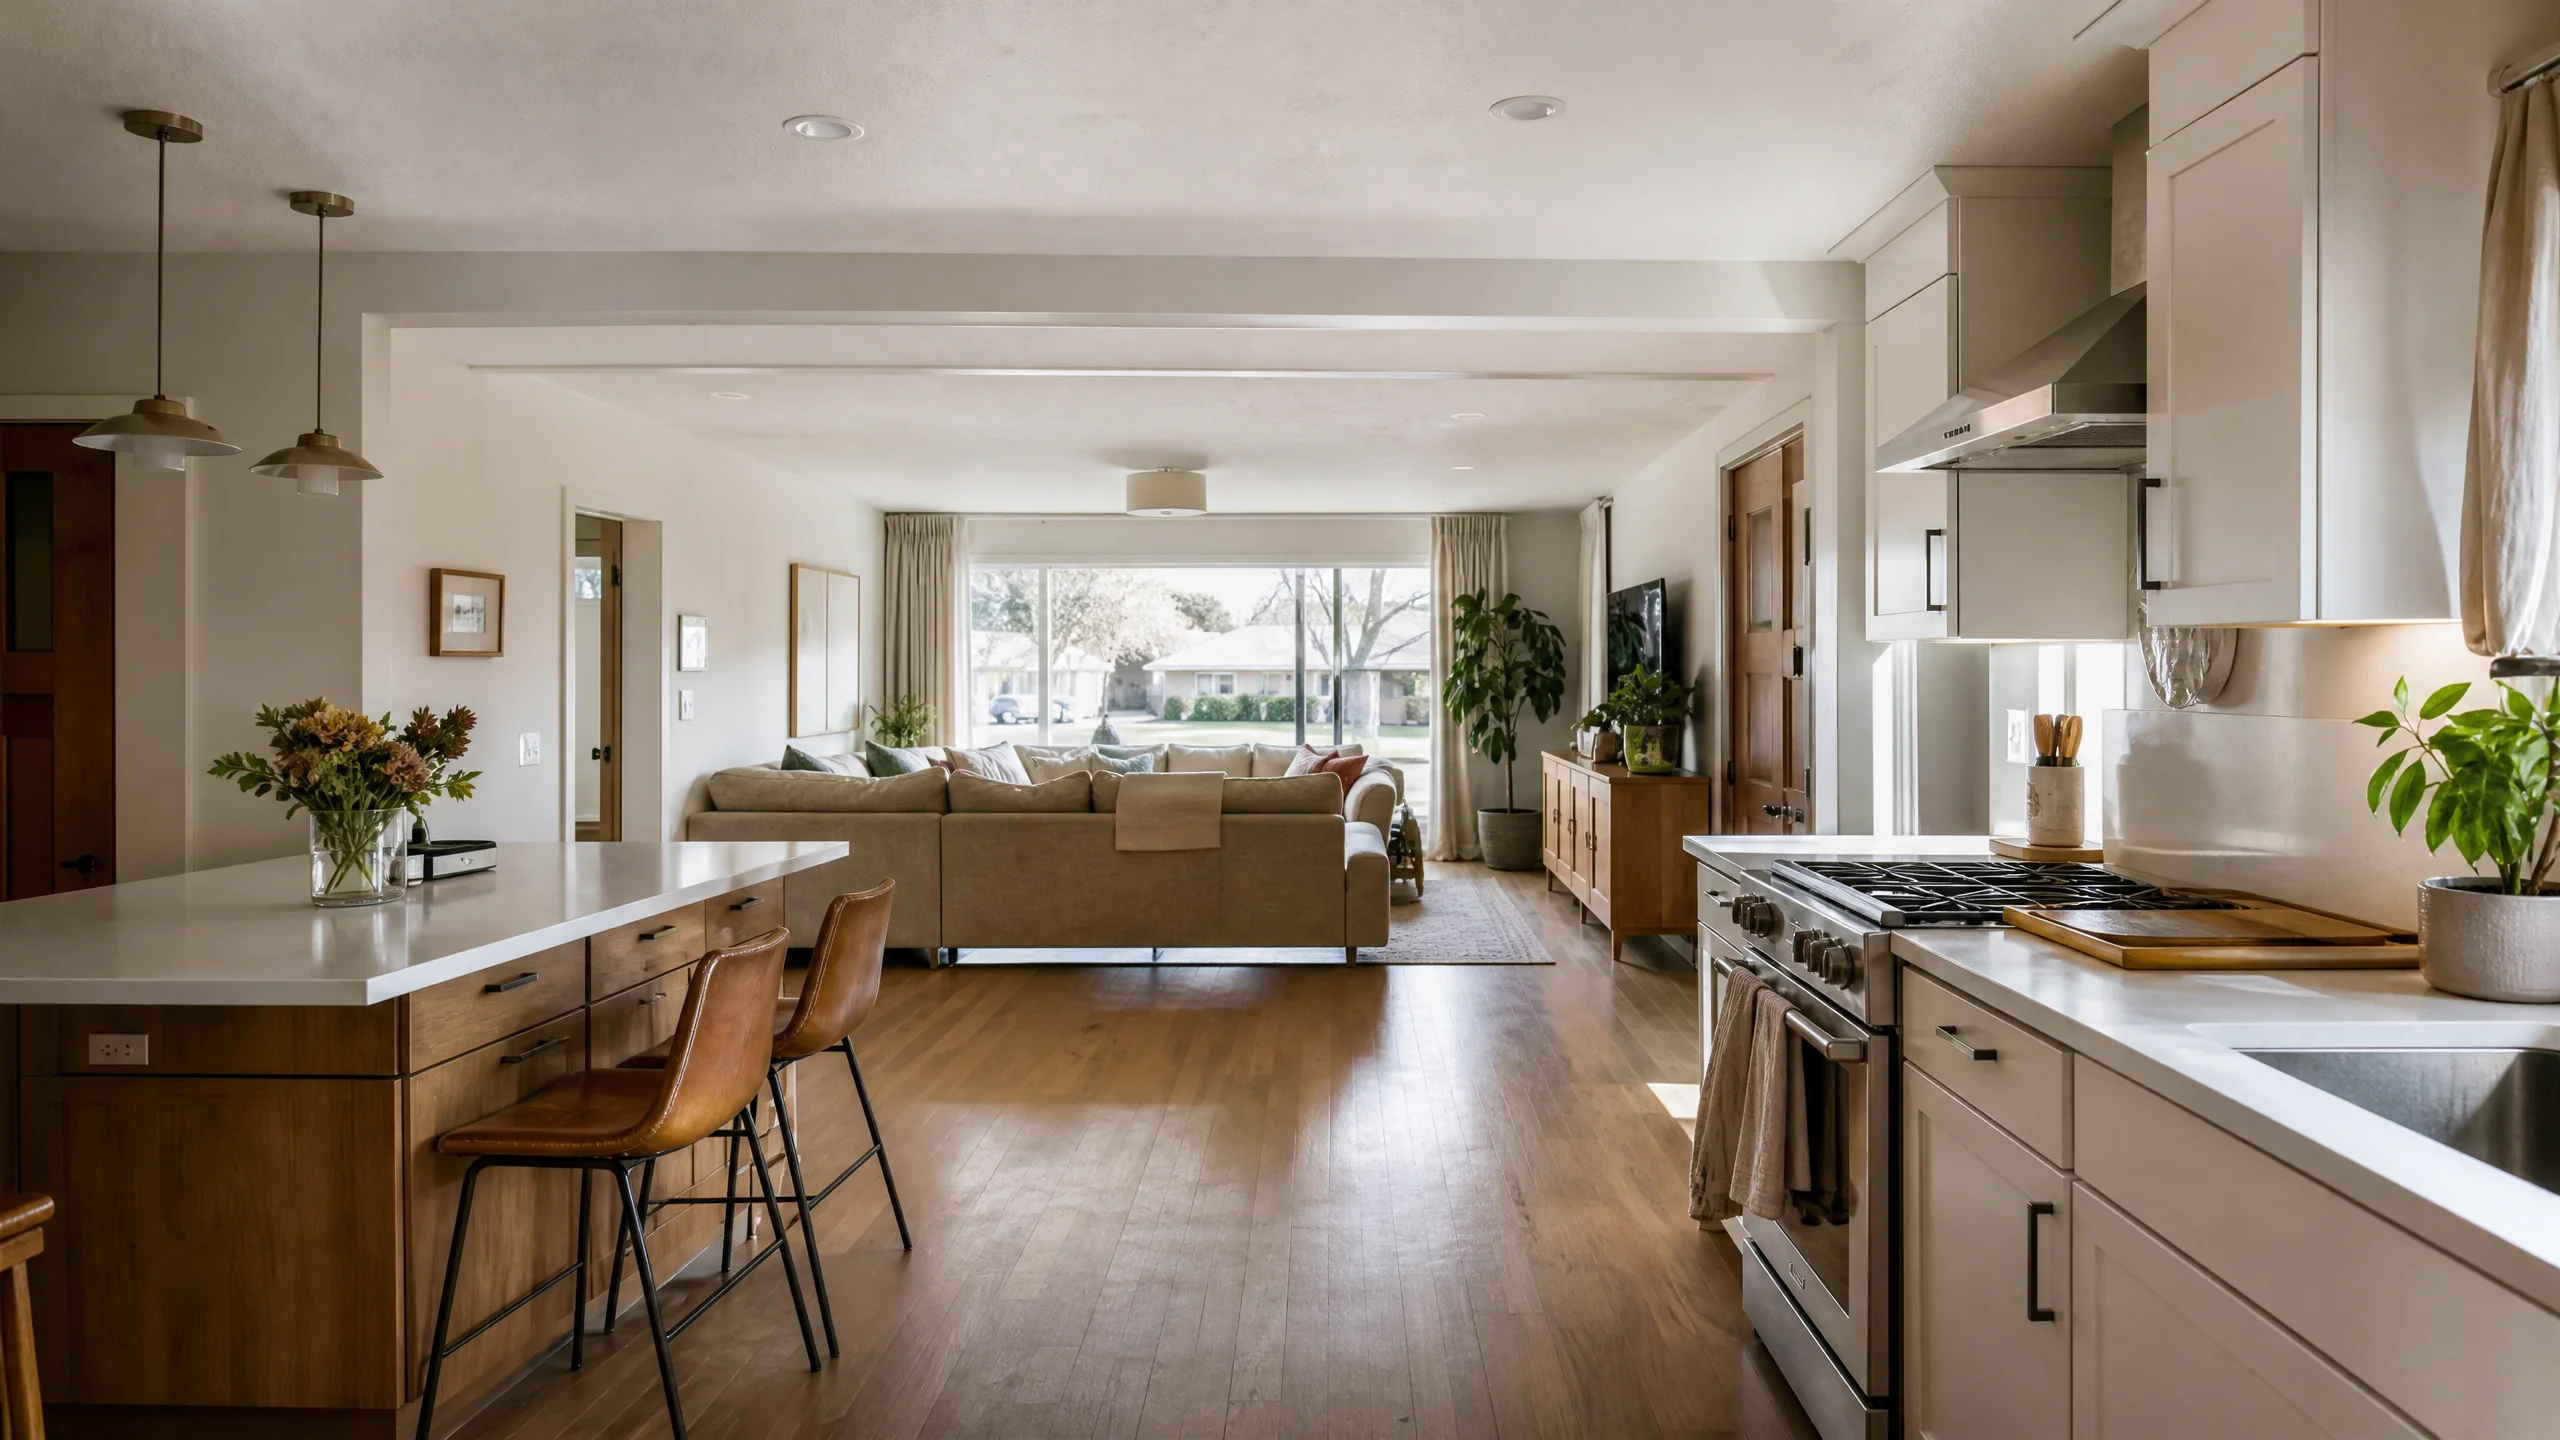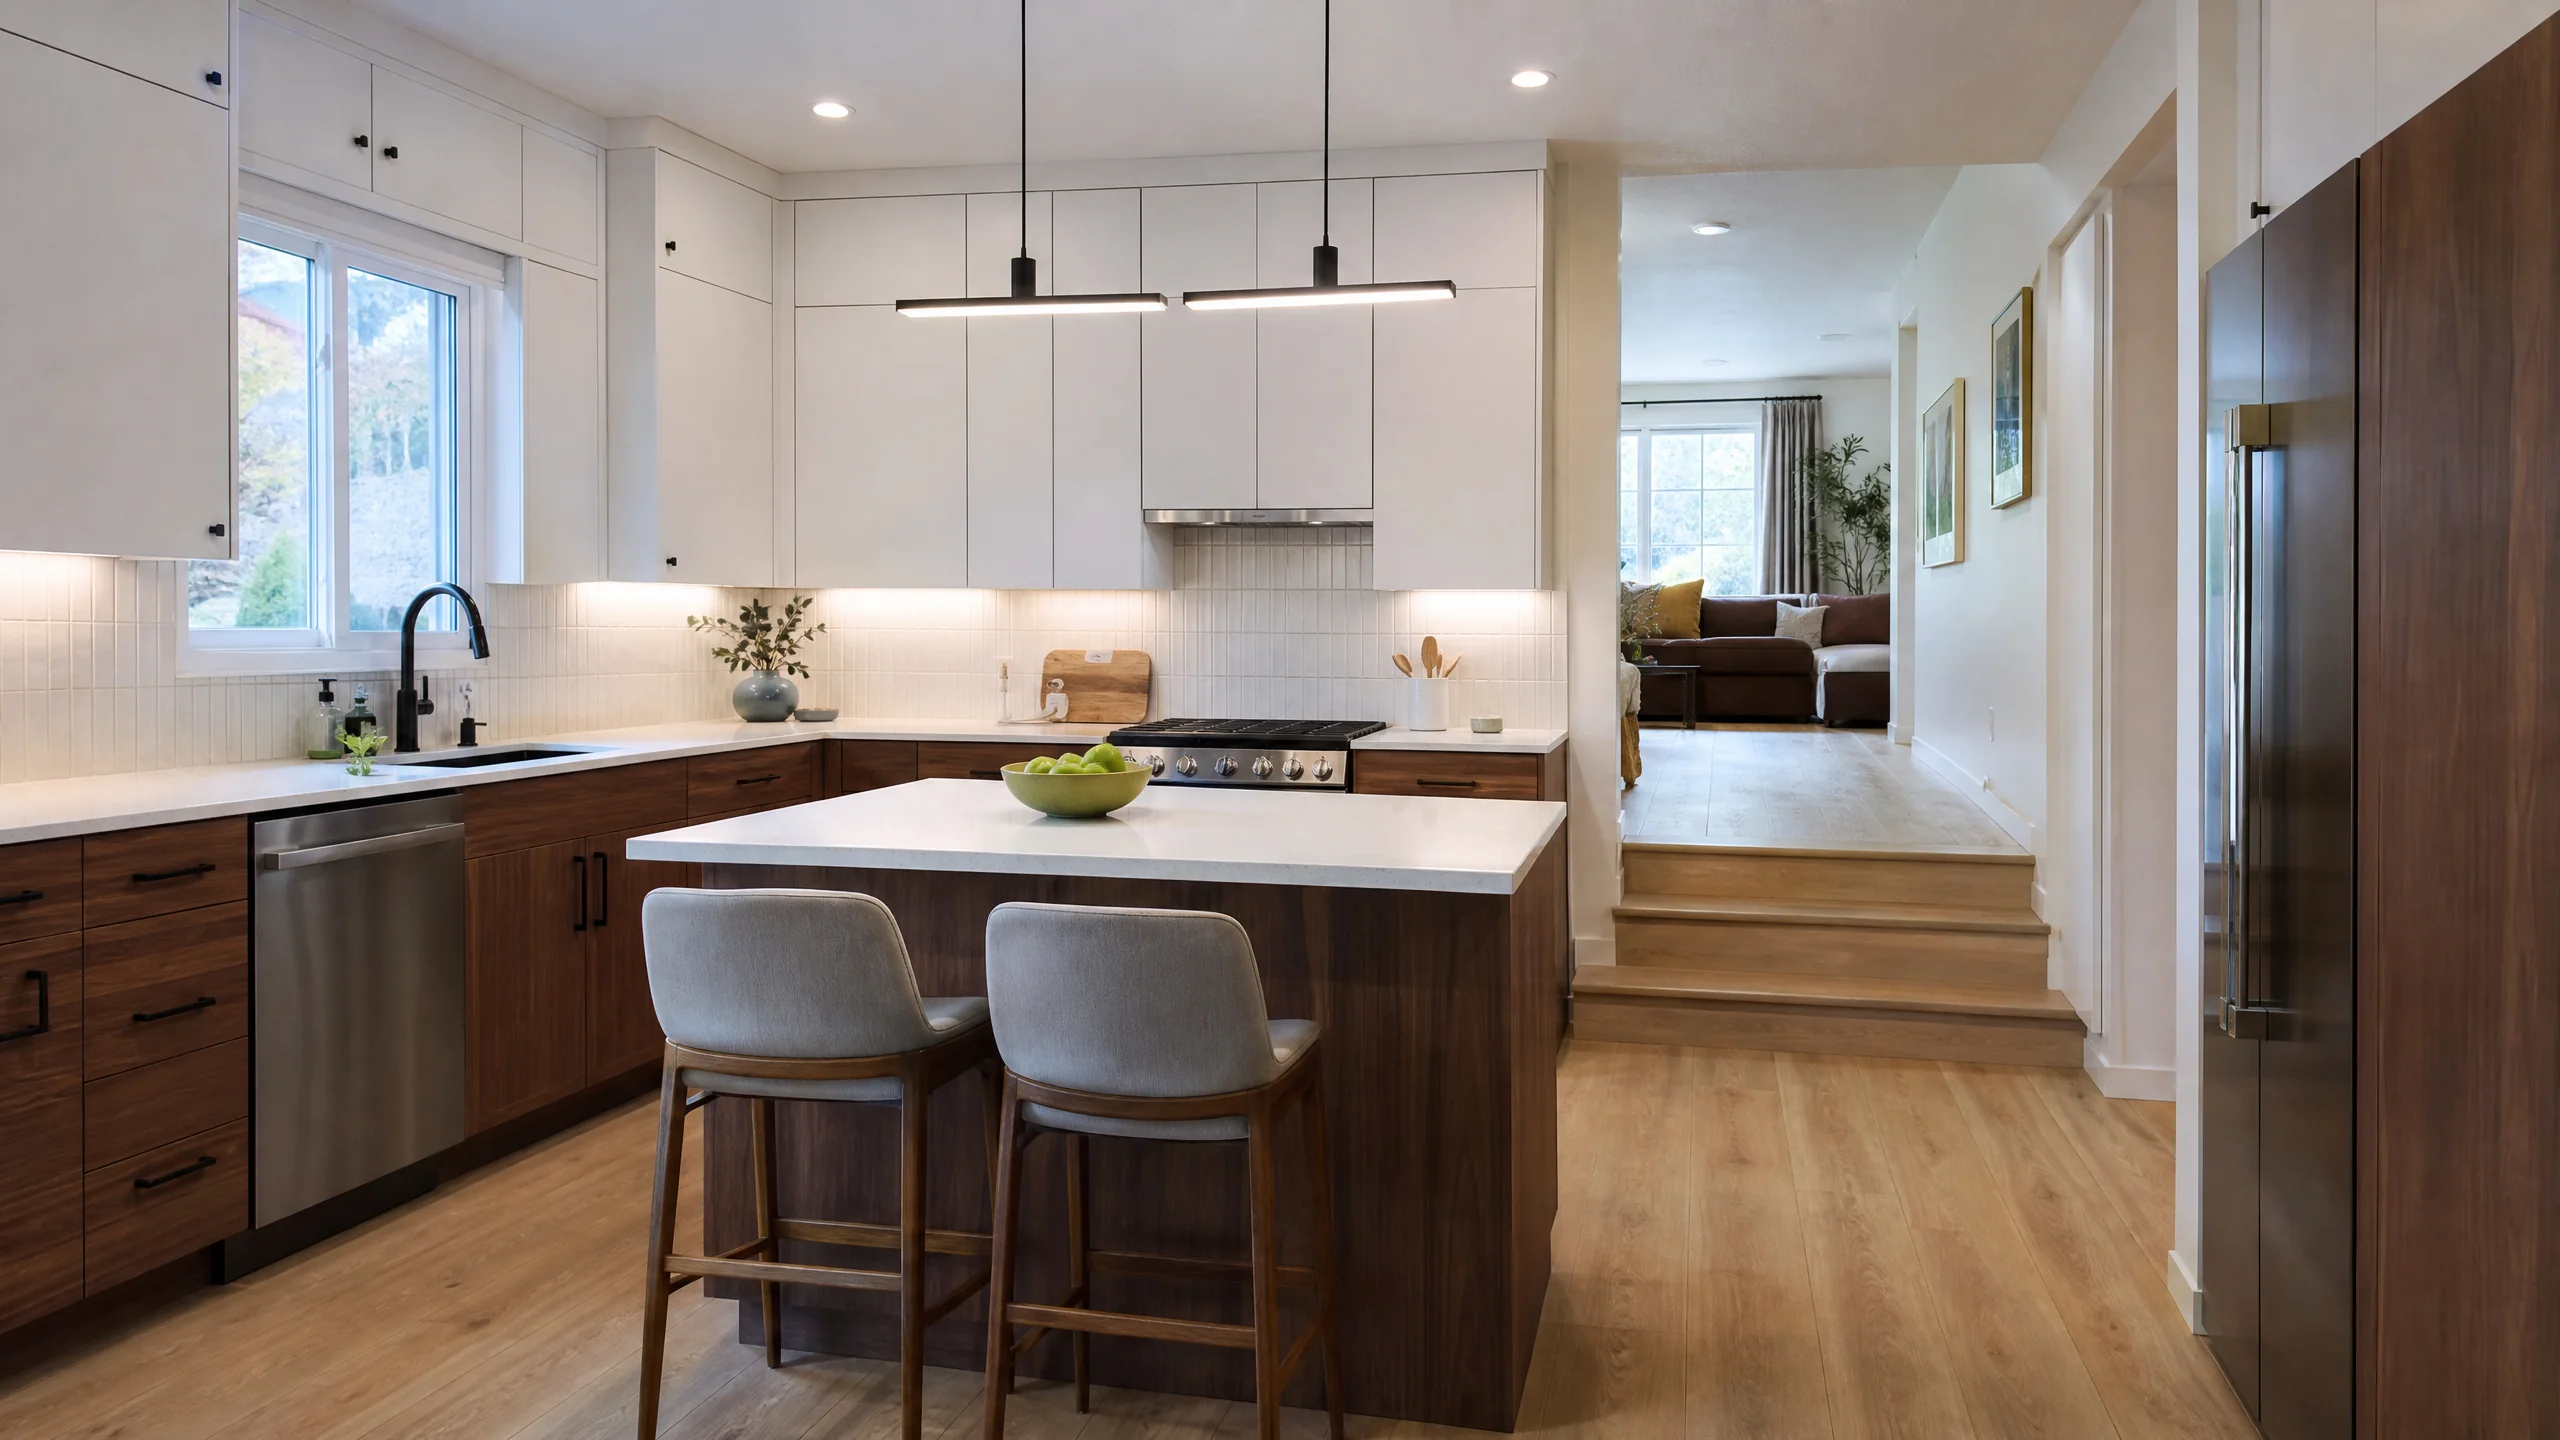
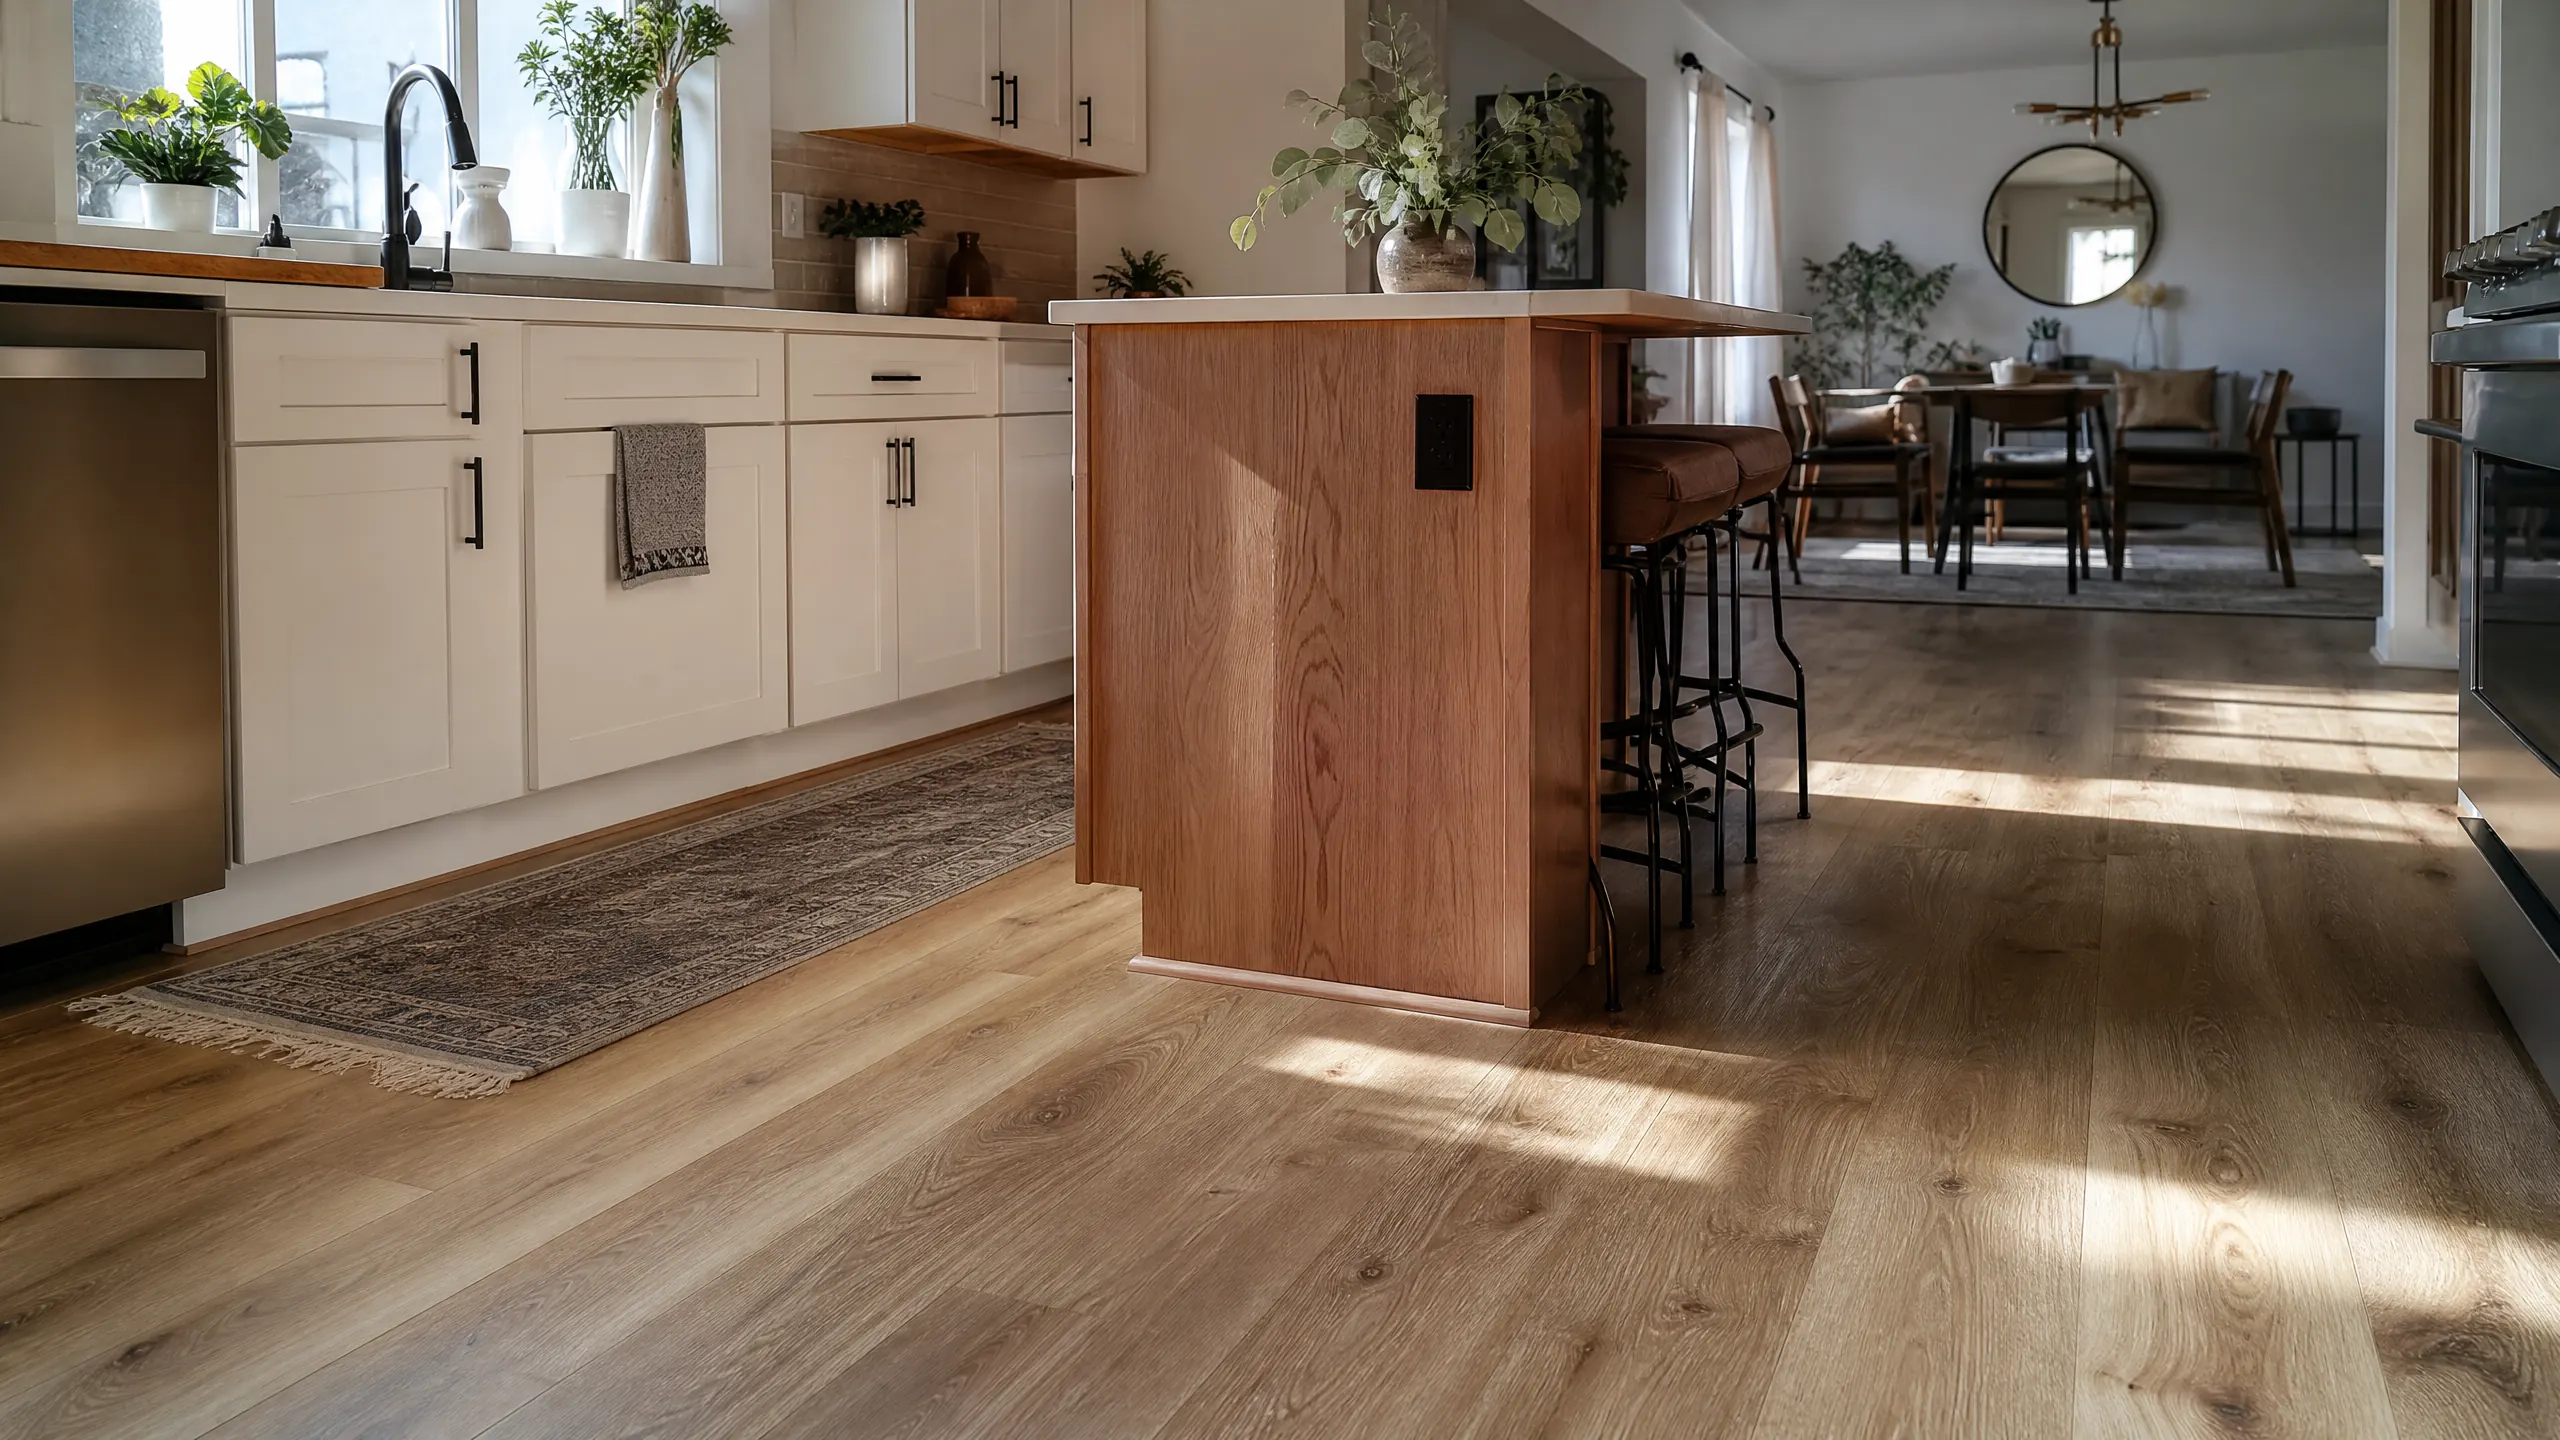
What a kitchen flooring project includes
The floor is the one surface that runs under or around everything else in the kitchen, and usually into the rooms beside it. Getting it right is as much about sequence and subfloor as about the product. A complete kitchen flooring scope covers:
- Testing old flooring and adhesive before removal in older homes
- Tearing out existing layers down to a sound subfloor
- Repairing, flattening or adding underlayment to the subfloor
- Choosing a product that suits spills, traffic and the rest of the house
- Deciding whether the floor runs under the cabinets or stops at them
- Transitions to the dining room, hall and family room
- Appliance openings, toe kicks, baseboard and trim
Signs your kitchen floor needs replacing
- It's patched around an old layout. Removing a peninsula or wall leaves a gap the old floor can't fill.
- Layers have piled up. Vinyl over vinyl over tile raises the floor until the dishwasher barely fits.
- The subfloor moves. Soft spots near the sink or dishwasher can point to old leaks.
- It doesn't connect. The kitchen has one floor, the dining room another and the hall a third, and opening the plan will show every seam.
- It's worn through. Peeling seams, cracked tiles or a finish that won't clean up.
LVP vs. tile vs. engineered or solid wood
| Floor | Strengths in a kitchen | What to check |
|---|---|---|
| Luxury vinyl plank (LVP) | Comfortable underfoot, handles spills, easy to run into adjoining rooms | Wear layer: 6 to 12 mil is rated for light residential use, 12 to 20 mil for active households |
| Porcelain or ceramic tile | Very hard-wearing, water does no harm to the tile itself | Glazed tile is classed 0 to 5 for abrasion under ASTM C1027; the test may understate wear on dark tiles |
| Engineered wood | Real wood look and feel, more dimensionally stable than solid wood | Wear layer thickness decides whether it can be refinished |
| Solid hardwood | Can be refinished; matches existing wood floors in the house | Most sensitive to humidity swings and standing water |
Sources: MSI Surfaces, LVT wear layers (2026); TCNA, tile abrasion (ASTM C1027); NWFA Installation Guidelines, Appendix H.
A note on the "PEI rating" you'll see on tile boxes: the Tile Council's lab says the correct name is visible abrasion classification, and it applies only to glazed tile. For engineered wood, NWFA's refinishable program sets a minimum wear layer of 3/32 inch (2.5 mm) for factory-finished smooth boards. Claims that a product is "waterproof" have no common standard behind them, so read the specific warranty. NKBA also recommends slip-resistant kitchen flooring, which is worth asking about on any glossy finish.
Sources: Floor Covering News on NWFA, Jan 2023; NKBA 4th ed. summary, section 1.3.
Under the cabinets or around them?
This is the decision people forget to make until the installer asks. For floating floors, which include most click-together LVP and some engineered wood, the answer is set by the manufacturer: install the cabinets and island first, then float the floor around them. Urban Surfaces is blunt about it: "Never install cabinets on top of floating flooring," because the floor needs to expand and contract. Leave a 1/4-inch gap and cover it with quarter-round.
Source: Urban Surfaces KB05-008.
Tile and glued or nailed floors can go either way. Running them under the cabinets uses more material but makes a future layout change easier and keeps the dishwasher opening at the same height as the floor around it. Stopping at the cabinets saves material. Either way, the choice belongs in the written scope so the cabinet installer and flooring installer agree on who goes first.
In an open plan, also decide where the floor stops. Running one product from the kitchen through the dining and family rooms makes the space read as one room, but it widens the scope and may need transition or expansion breaks at doorways; check the manufacturer's limits on continuous runs before committing.
How a well-planned flooring project runs
- Test what's thereIn older homes, sample old vinyl, tile and adhesive before anyone pulls it up.
- Choose the floor with the layoutPick a product and decide under or around the cabinets, and how far it runs into other rooms.
- Remove and prepareStrip to the subfloor, repair water damage, flatten and add underlayment.
- Acclimate as the maker saysWood and some vinyl products specify conditions before installation.
- Install in the agreed orderBefore or after cabinets, depending on the product and plan.
- Trim and transitionsBaseboard, quarter-round and thresholds into the next rooms.
What drives kitchen flooring cost
- Square footage beyond the kitchen. Open plans often mean flooring the dining and family rooms too, so the floor reads as one surface.
- Removal and testing. Asbestos sampling and, if needed, abatement by a certified company.
- Subfloor work. Leveling, water-damage repair and underlayment.
- Product. Wear layer, tile size and format, wood species and thickness.
- Pattern and layout. Large-format tile, herringbone and diagonal layouts add labor and waste.
For context on the bigger budget, flooring is part of nearly every minor and major remodel. Houzz's 2026 Kitchen Trends Study puts the median minor kitchen remodel at $20,000. The kitchen flooring options guide compares materials in more depth.
Source: Houzz 2026 U.S. Kitchen Trends Study.
Kitchen flooring in Holladay homes and Utah's dry air
Two local factors shape flooring here: the age of the floor you're removing and the climate the new one has to live in.
Most Holladay homes predate 1981; the Census puts 68.8% before 1980. Under Utah's asbestos rule, contractors must have a certified inspection before renovating. Older homes get a full inspection, and even for homes built after 1981 the rule names vinyl tile, sheet vinyl, flooring backing and mastic as materials to check. A kitchen tear-out is one of the most common places those layers turn up.
Sources: U.S. Census ACS 2020-2024, Holladay; Utah Admin. Code R307-801-9; R307-801-10.
Then there's the air. NOAA normals put Salt Lake City's average outdoor afternoon humidity at 22% in July. That's outdoor air, not your kitchen, but it's a reason to check indoor conditions before choosing wood. The NWFA recommends keeping wood floors at 60 to 80°F and 30 to 50% relative humidity. Engineered boards and narrower widths move less than wide solid planks, and NWFA notes radiant heat is dry heat that may call for a humidifier. A hygrometer in the kitchen for a few weeks answers the question cheaply.
Sources: NOAA 1961-1990 normals via Current Results; Hardwood Floors Magazine on NWFA guidance, 2023; NWFA Appendix H.