What a kitchen lighting project includes
Most kitchens that feel dim don't need brighter bulbs. They need light in different places. A ceiling fixture in the middle of the room puts your shadow on the counter every time you stand at it. A lighting project fixes that by planning several kinds of light around the layout:
- A lighting plan drawn on the floor plan and cabinet elevations
- General light: recessed or surface fixtures across the room
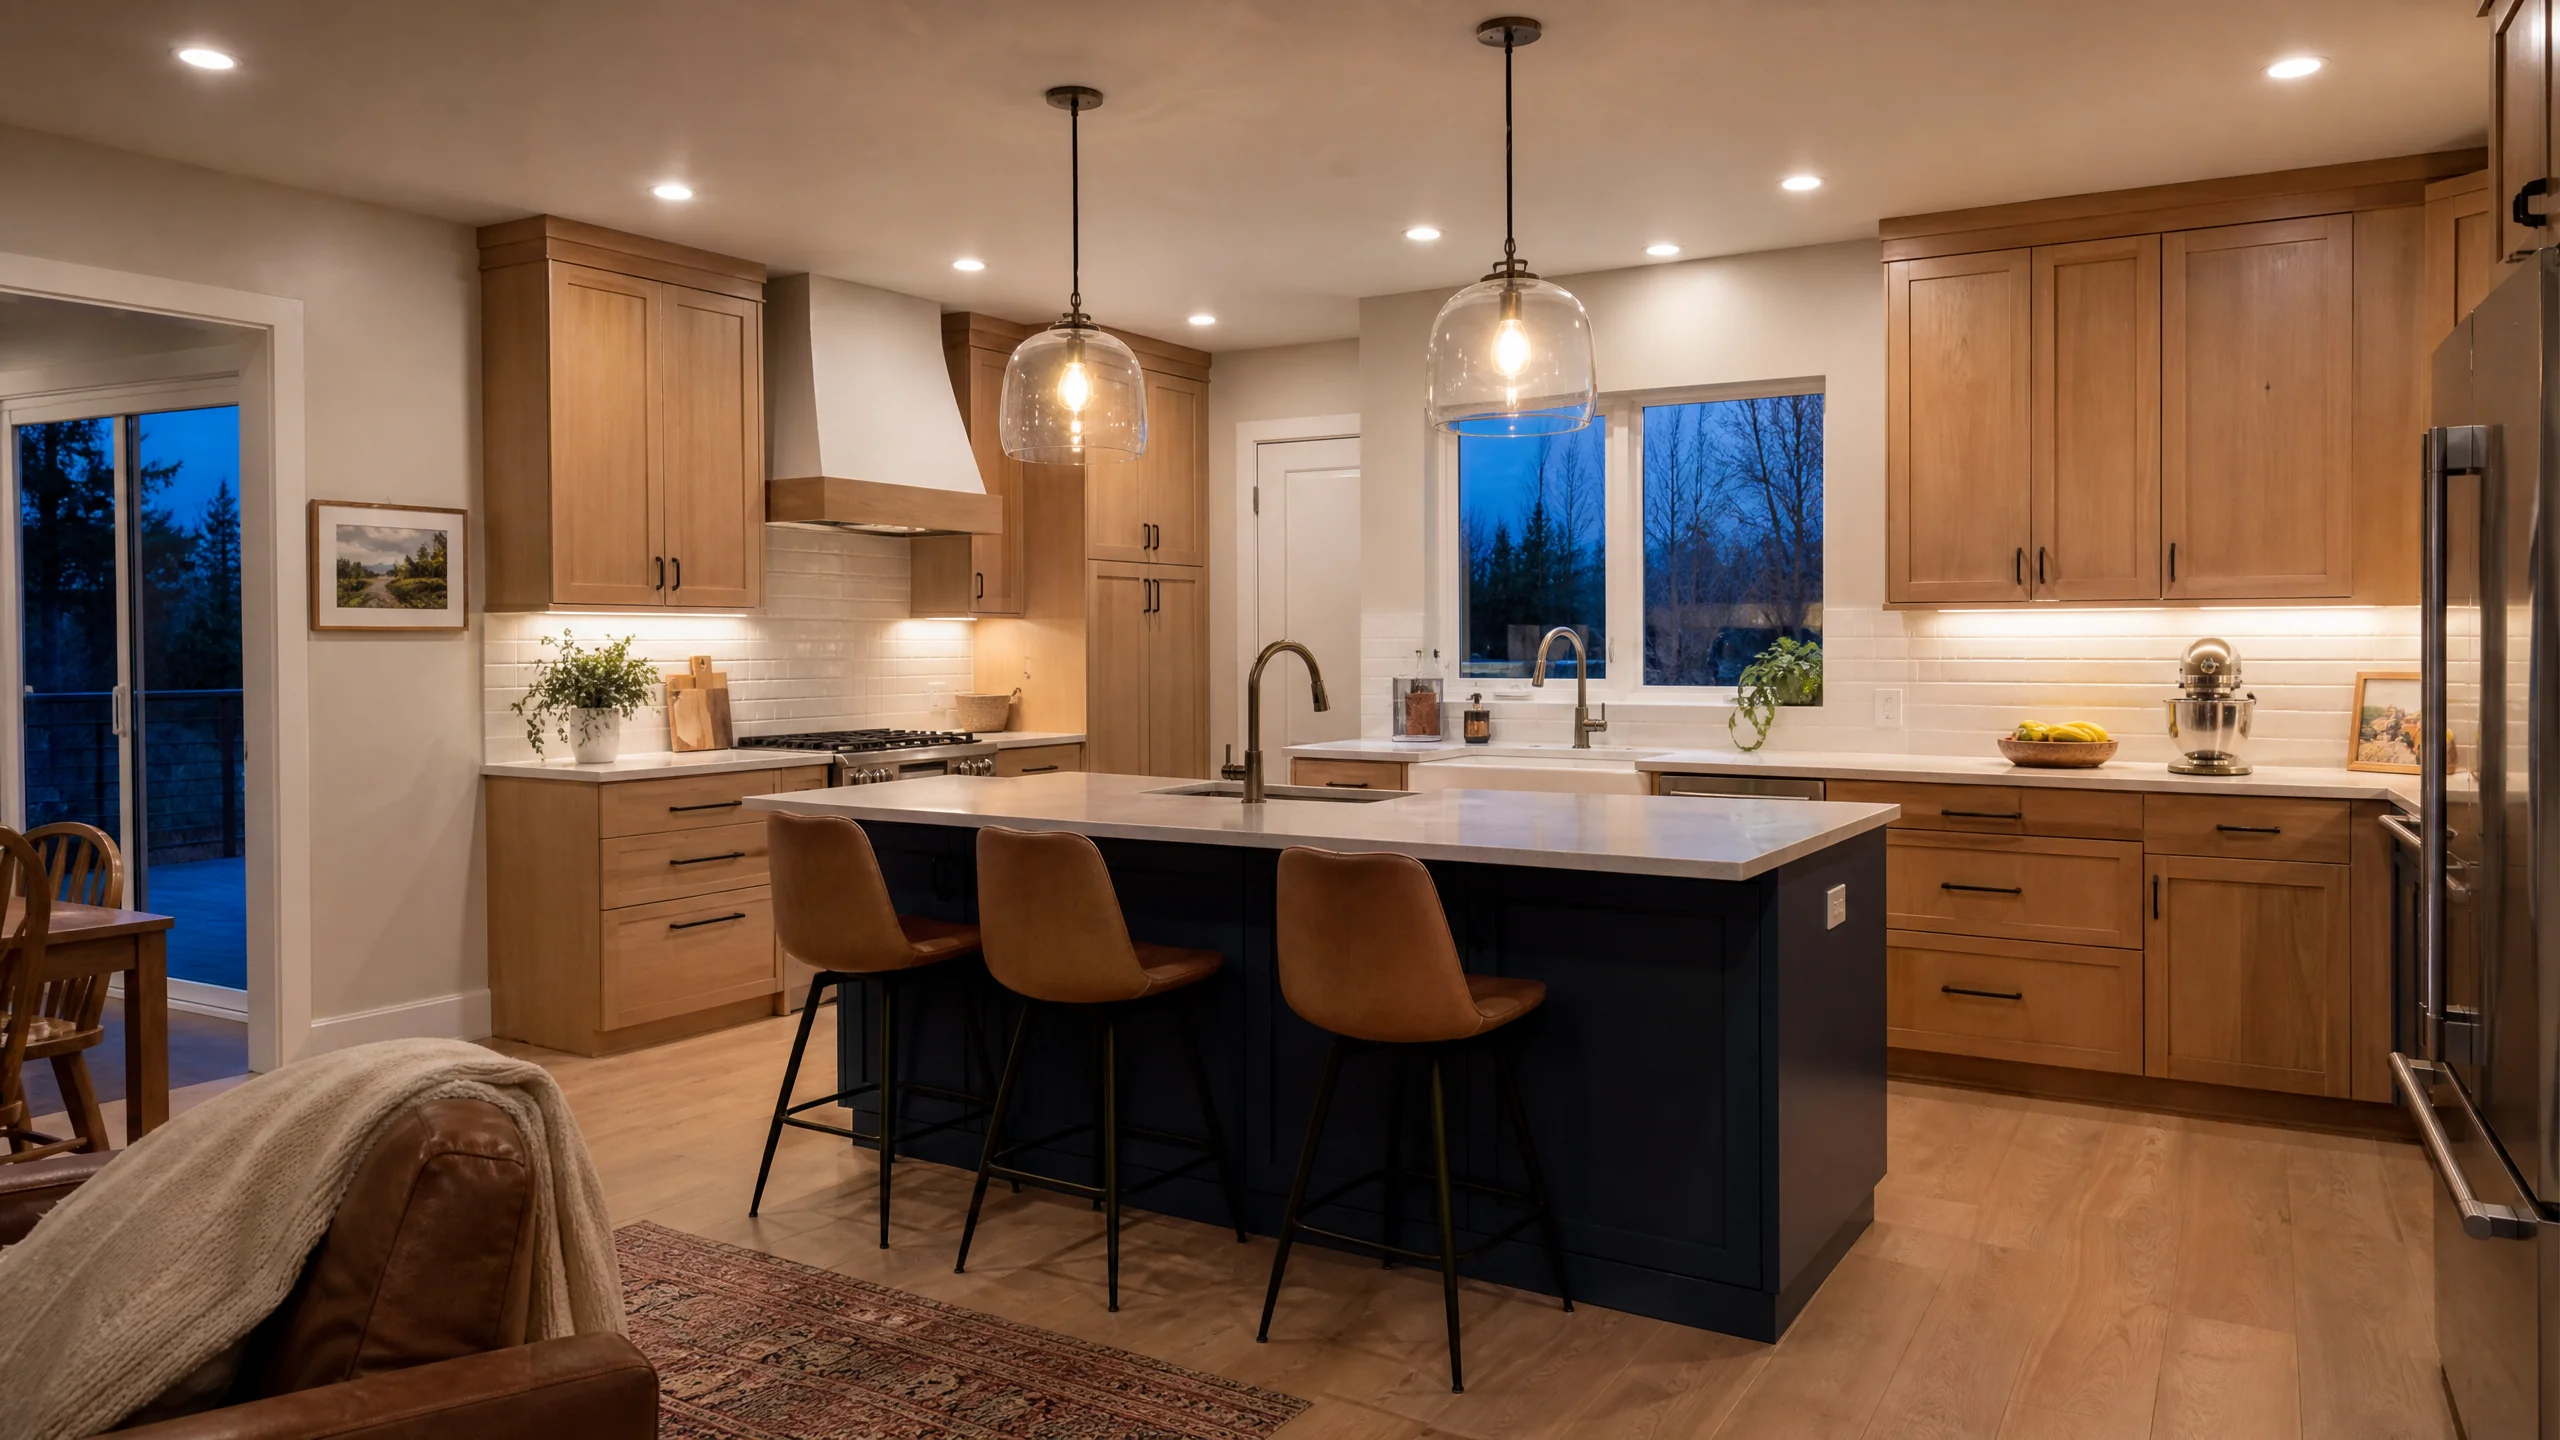
- Task light: under-cabinet strips and lights aimed at the sink, range and island
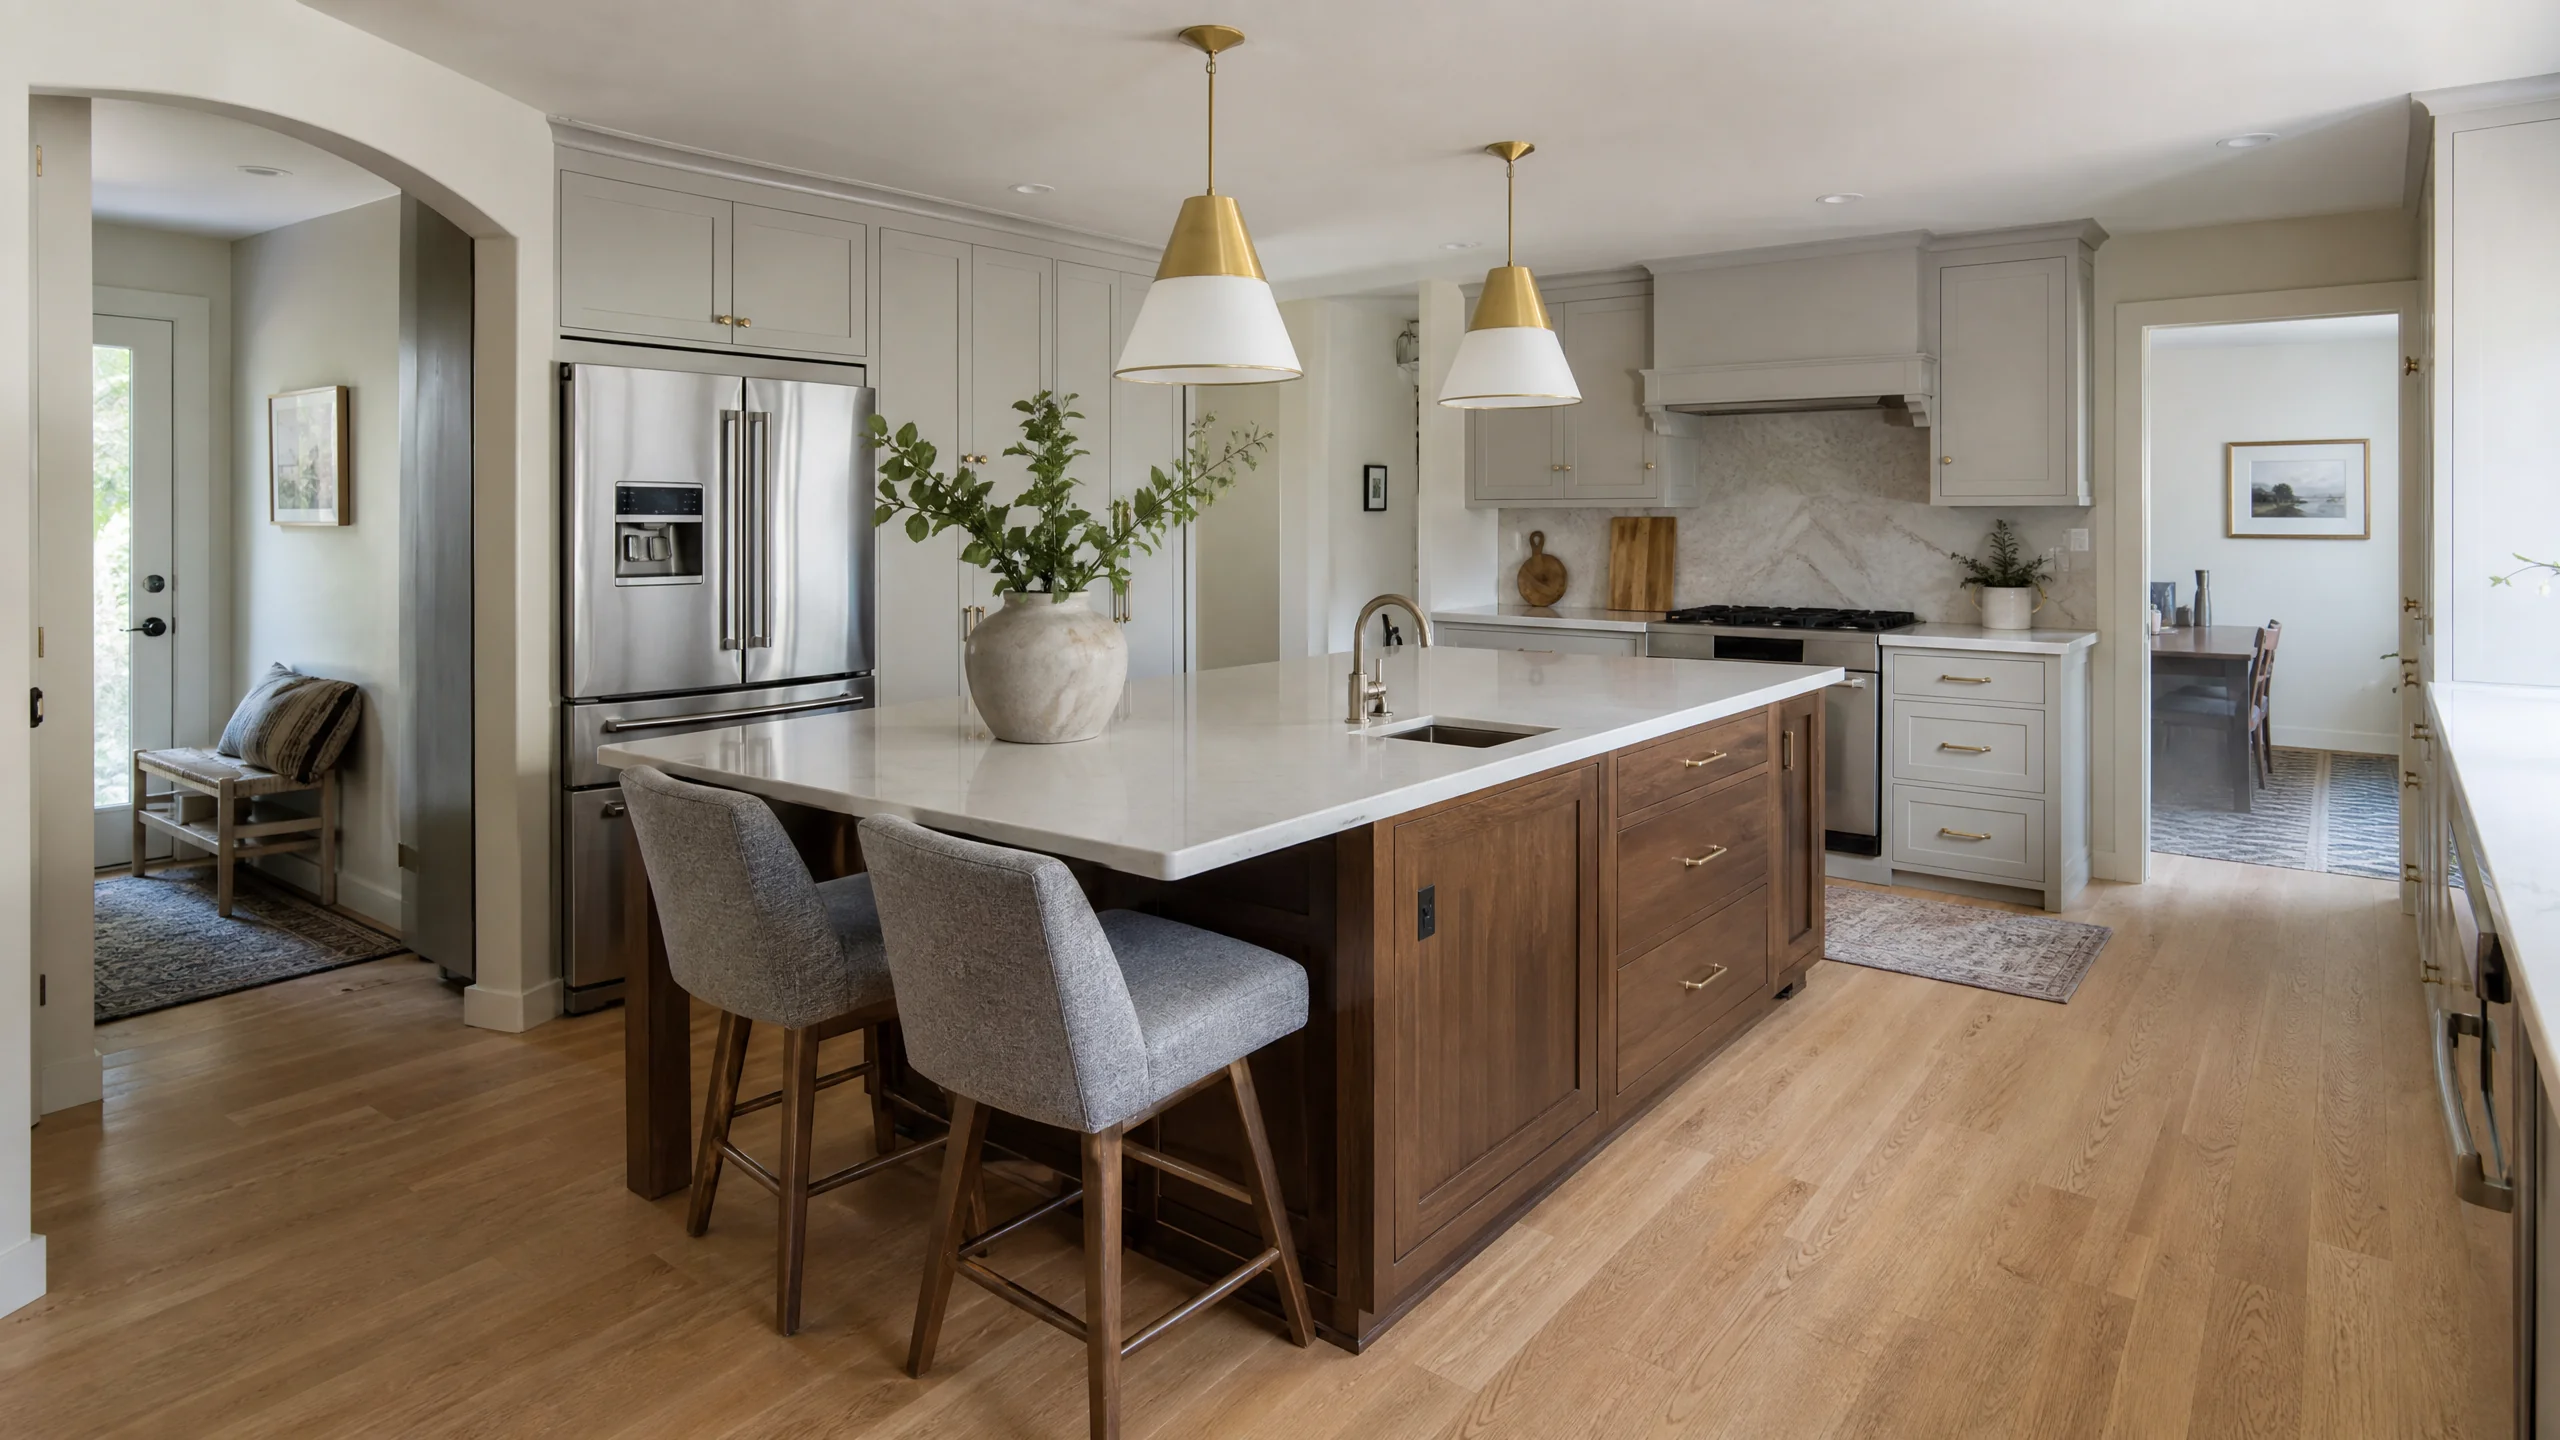
- Pendants or a feature fixture over the island or table
- Accent light inside glass cabinets, over open shelves or in toe kicks
- Switch locations, dimmers, scenes and occupancy sensors
- New circuits, boxes and wiring routes, with the electrical permit
- Drywall patching and paint where ceilings are opened
Signs your kitchen lighting isn't working
- You cook in your own shadow. The only light is behind you.
- The counters under the upper cabinets are dark. You move things to the island just to read a recipe.
- Colors don't match. One fixture is warm yellow, another blue-white, and food looks wrong under both.
- It's all or nothing. One switch, full blast, no way to dim it for evenings.
- The switches are in the wrong place. You walk across a dark room to turn the lights on.
Layered kitchen lighting, compared
NKBA's fourth-edition planning guidelines say a room should be lit with several layers, zoned by activity, combining general, task and decorative light. They also put numbers on it.
| Layer | Job | NKBA guidance | Placement tips |
|---|---|---|---|
| General | Even light to move around the room | At least 20 fc (215 lux) | Recessed spacing of about half the ceiling height |
| Task | Light on counters, sink, range and island | At least 50 fc (538 lux) at activity centers | Under-cabinet lights near the front edge; ceiling lights about 12 in. out from upper cabinet faces |
| Decorative | Pendants, in-cabinet and accent light | Part of the layered plan | Island task lights about 30 to 36 in. apart |
A footcandle is the amount of light landing on a surface. The jump from 20 to 50 is the point: counters need two and a half times the light of the walkway, and that only happens with fixtures aimed at them. The kitchen lighting plan guide walks through the math.
Under-cabinet light and pendants
Under-cabinet lighting does more for a working kitchen than any other single fixture, because it puts light between you and the cutting board. NKBA's guidance is to plan it near the front edge of the cabinet, which spreads light across the counter instead of washing only the backsplash. Strips that run the full length of each upper, with no dark gaps at the corners, look and work better than a few puck lights.
Pendants are decorative and task light at once. Their location comes from the island: how long it is, where people sit and where the prep happens. That's why pendant boxes should be placed from a final island plan, not centered on the ceiling and hoped for. A row of smaller fixtures usually lights an island more evenly than one large shade, and each should be dimmable so the island can shift from prep surface to dinner table.
The specs that make light look right
Brightness is only half of it. Three specs decide whether a kitchen looks good at night:
- Color rendering (CRI). NKBA calls for a minimum of 90 CRI for all illumination. Lower CRI makes food, wood and skin look flat or off.
- Color temperature. NKBA gives a 2700K to 5000K range and says it should be consistent within a room. Pick one value for every fixture you can see together.
- Control. NKBA recommends every fixture be on a dimmer or occupancy sensor, with switches between 36 and 48 inches above the floor.
Source: NKBA 4th ed. summary, section 8.3.
Daylight counts, too. NKBA's earlier guidelines, citing the 2015 IRC, note window glazing equal to at least 8% of the floor area, and ask that every work surface be well lit by task lighting.
Source: NKBA Kitchen Planning Guidelines, Guideline 31.
How a well-planned lighting project runs
- Fix the layout and cabinetsFixture locations depend on where uppers, the island and the sink end up.
- Draw the layersGeneral, task and decorative light on the plan, with switching zones.
- Pick specsOne color temperature, 90+ CRI, dimmable drivers and fixtures that match.
- Plan circuitsLoad, new runs and switch locations, plus the permit.
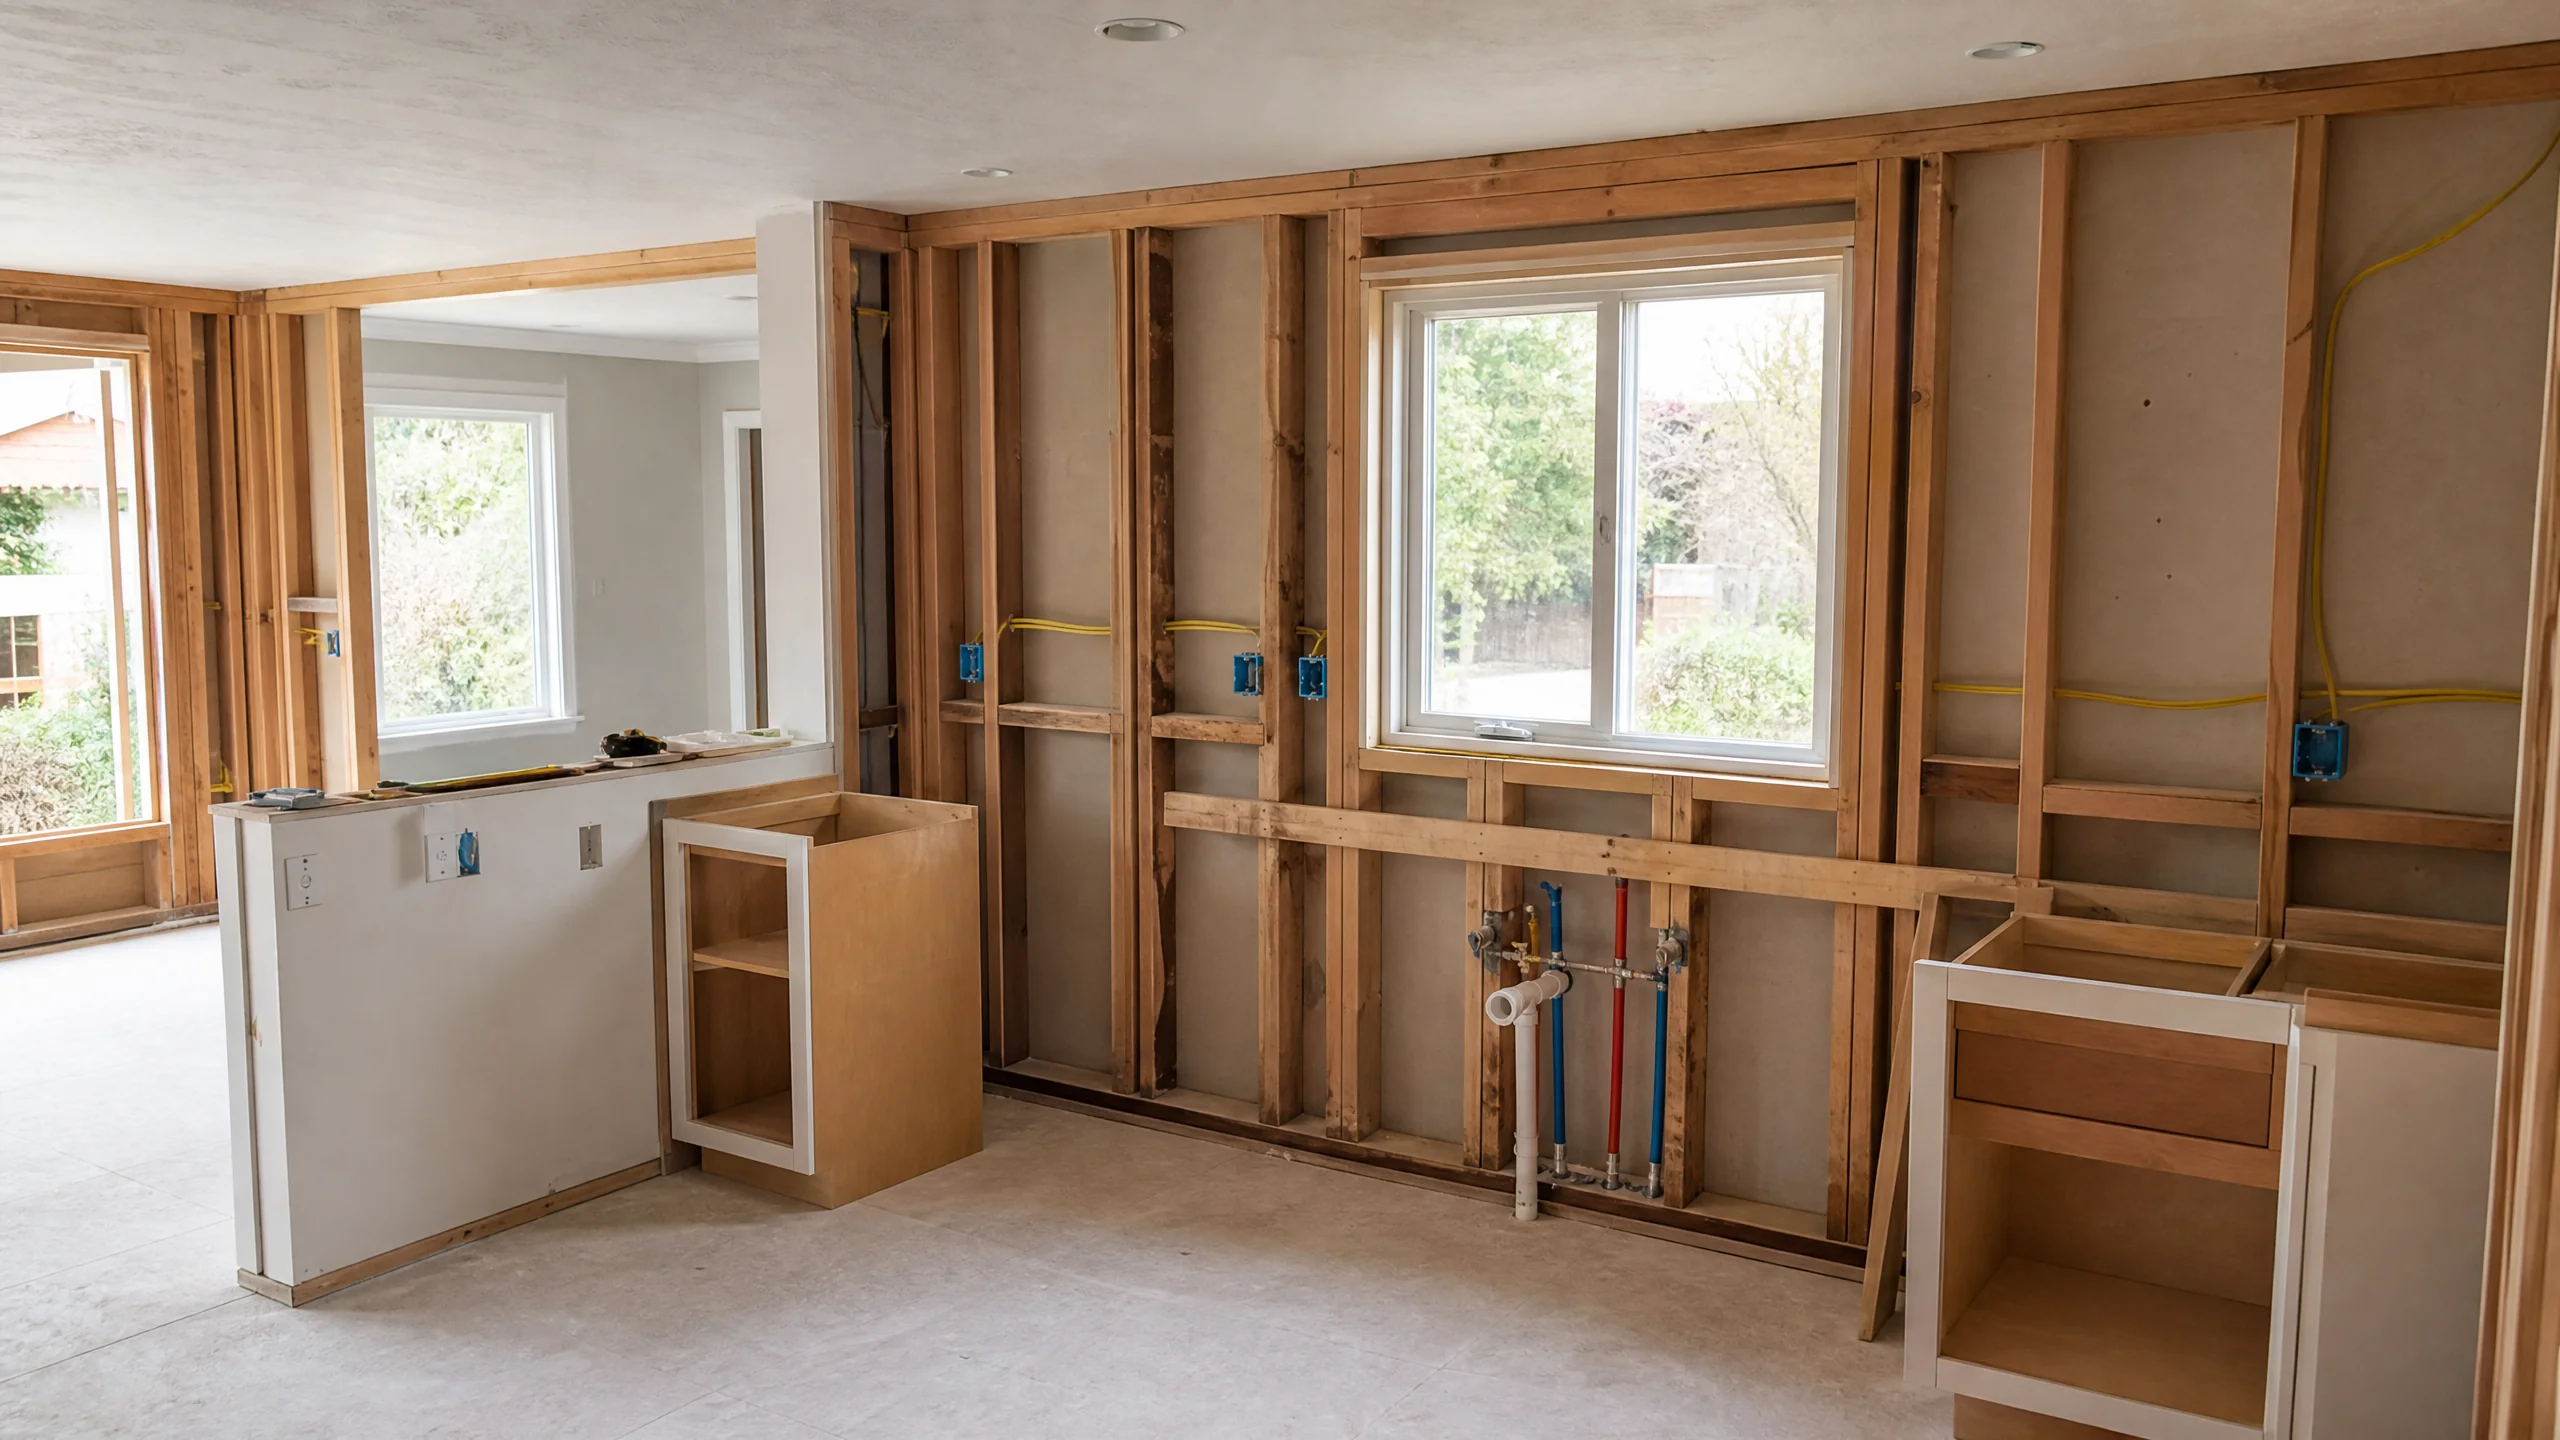
- Rough-in and inspectBoxes, wiring and under-cabinet feeds installed before drywall or cabinets close them in.
- Trim out and aimFixtures, dimmers and adjustment after cabinets and counters are in.
What drives kitchen lighting cost
- Access. Open ceilings during a remodel are far cheaper to wire than finished ones.
- New circuits. Adding capacity, and any panel work in older homes.
- Fixture count and type. Recessed cans, under-cabinet systems and pendants each add parts and labor.
- Controls. Dimmers, scene controls and occupancy sensors.
- Fixture quality. High-CRI, dimmable LED products that hold a consistent color cost more than bargain fixtures.
Lighting is easiest to get right as part of a larger remodel, when ceilings and walls are open and cabinets are new. Adding under-cabinet light to existing cabinets is possible, but the feed has to come from somewhere.
Kitchen lighting, circuits and permits in Holladay
Holladay's permit rules draw a clear line. Replacing interior lights and receptacles with equivalent devices doesn't need a permit. New branch circuits and service upgrades do. A layered lighting plan almost always adds new runs, so expect an electrical permit through the city's online portal, where the city aims to finish a first plan review within 7 business days. For houses built under the residential code, Utah applies the IRC's electrical chapters rather than the NEC directly, so your electrician and the building official will be working from the same rulebook.
Sources: City of Holladay Building Division FAQ; Utah Code 15A-3-601.
Older wiring is the other local factor. With a median build year of 1969, many Holladay kitchens are working from original circuits. InterNACHI notes 60-amp services may be inadequate for modern loads, recommends at least 100 amps, and points out that grounded receptacles have only been required in new construction since 1962. Utah's residential code also calls for at least two 20-amp small-appliance circuits for kitchen counters. If the lighting plan opens the ceiling, it's the right time to look at all of it.
Sources: U.S. Census ACS 2020-2024, Holladay; InterNACHI, electrical service; InterNACHI, ungrounded receptacles; 2021 IRC E3703.2 (Utah).